Just like ready-to-wear clothing, sewing patterns are normally designed for a specific height. I design my patterns for someone who's 5 ft 6 (a height more common than most, in the UK), so it might surprise you to learn that I'm actually only 5 ft 2. I have to shorten almost all patterns (including most of mine) to fit me. It's one of the reasons I got into sewing – I stopped growing upwards in my early teens and pretty quickly got fed up with everything in the shops being too long!
However, in spite of this, I didn't add lengthen/shorten lines to my early patterns. I'd gotten so used to adding them myself that I just forgot. So now I'm going back through them all and updating them. But maybe you got an early printed copy, or can't be bothered to download again, or you have a pattern by another designer who left out those lines. But don't worry – it's easy to add your own.
This applies whether you're using marked-up lengthen/shorten lines or you're adding your own: first try to assess where you in particular need the length adjusted. Maybe you're making a dress and you've got long legs but a comparatively short torso. You'll want to add length to the skirt, but perhaps leave the bodice untouched. The point is, you don't have to adjust the length evenly throughout the pattern.
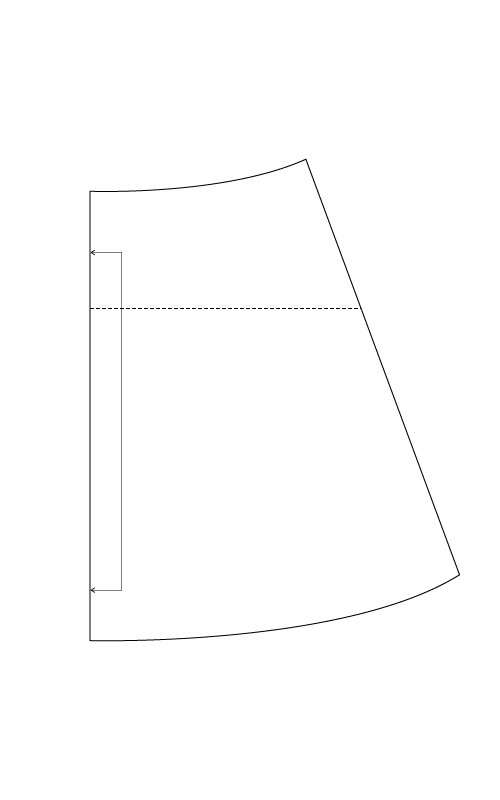
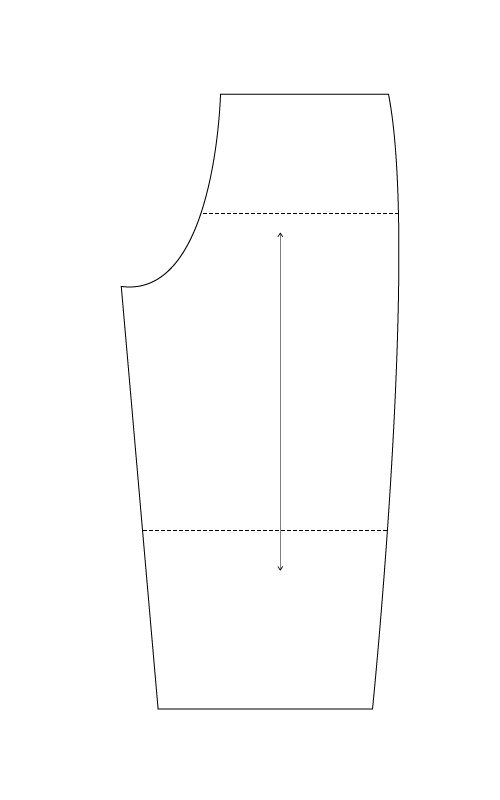
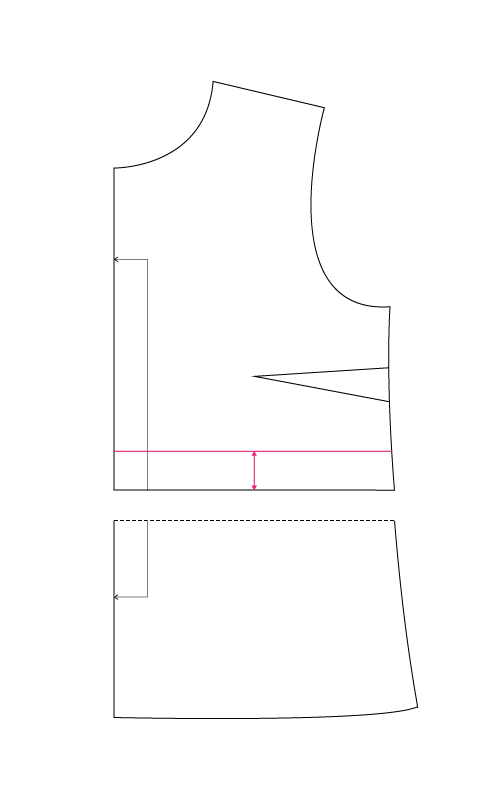
If you're marking up the lines yourself, on a bodice pattern draw a straight horizontal line a little way below the bust. This will change the length between the bust and the waist. On a skirt or trouser, you may want to use two horizontal lines – one around the hip area and one closer to the knee.


If you're using a pattern with multiple panels, for example a princess-seamed bodice, just make sure your lines are at the same height across all your bodice pieces, or all your bottom half pieces.

To lengthen your pattern
Cut along the lengthen line and move the now separated pattern halves apart. Insert a piece of paper behind the pattern pieces to 'fill in the gap'. Stick one pattern half down on the paper, and then draw two lines: one continuing the straight (CF or CB) edge of the pattern or the grainline if there isn't one, and the other parallel to the cut edge, at the desired for distance.


Stick the second pattern piece down, matching it to those drawn-in lines. Cut off the excess. And hey presto, you've lengthened!
To shorten your pattern
Cut along the shorten line. On one pattern half (I usually choose the higher), draw in a line parallel to the cut line, but at the distance you want removed. Now overlap your other pattern half so its cut edge is aligned with that drawn-in line. Stick it down and voila, you've shortened!


(You can of course also fold out the excess if you're shortening a pattern piece, so instead of cutting them apart your just fold the shorten line up to meet the drawn-in one.)
A couple of tips
Once you've made the adjustment, go ahead and smooth out the new side seams. The larger the insertion, the further apart I start the smoothing. If you need to add a large amount, definitely consider spreading it over a couple or even three or four lengthen/shorten lines down the body.

If you're adjusting length and your adjustment affects a zip (like the side zip in the Park Lane) or pocket placement (like the pockets in the Portobello Trousers), don't forget to move the notches that mark the end of the zip/pocket accordingly.

I hope you found this helpful – if there are any other specific pattern or sewing tutorials you'd like to see, let me know in the comments below!


1 comment
I use scraps of interfacing as tape, in case I need to iron the pattern piece.